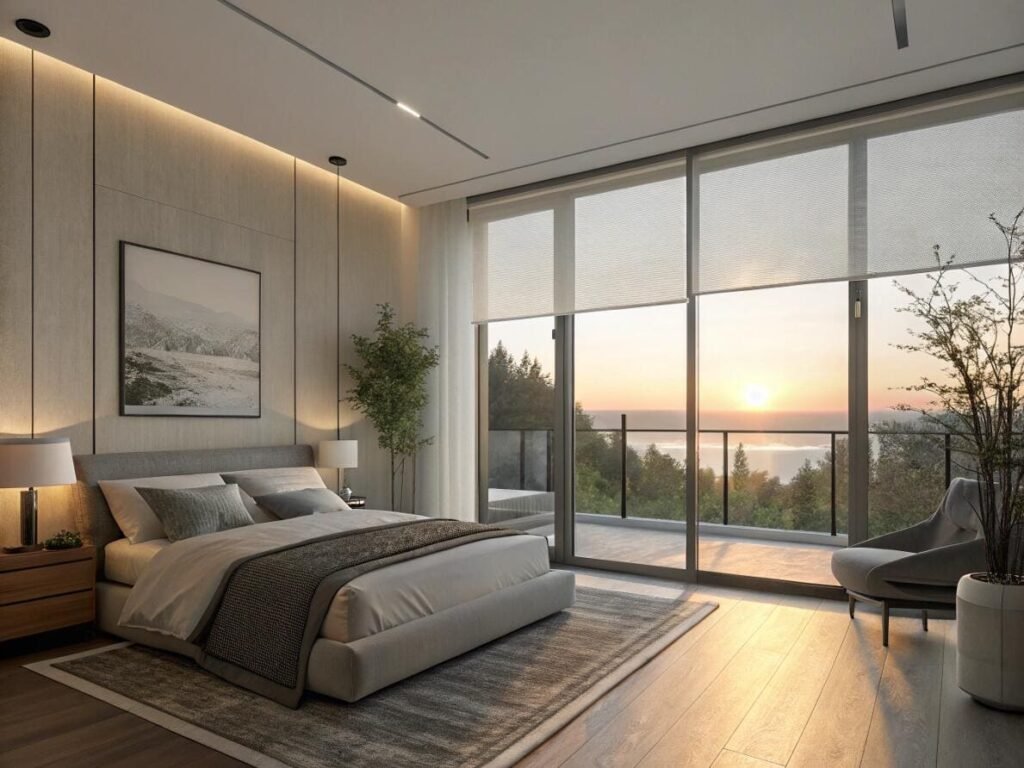
You want to offer clients true automation, but the setup seems too technical. The last thing you need is a callback because the "smart" blinds aren't following the schedule.
You can automate smart blinds using a remote control, a smartphone app, or a smart home hub[^1] like Alexa or Google Home. These tools allow you to easily create schedules for opening and closing[^2], or even trigger blinds based on sunlight or timers.
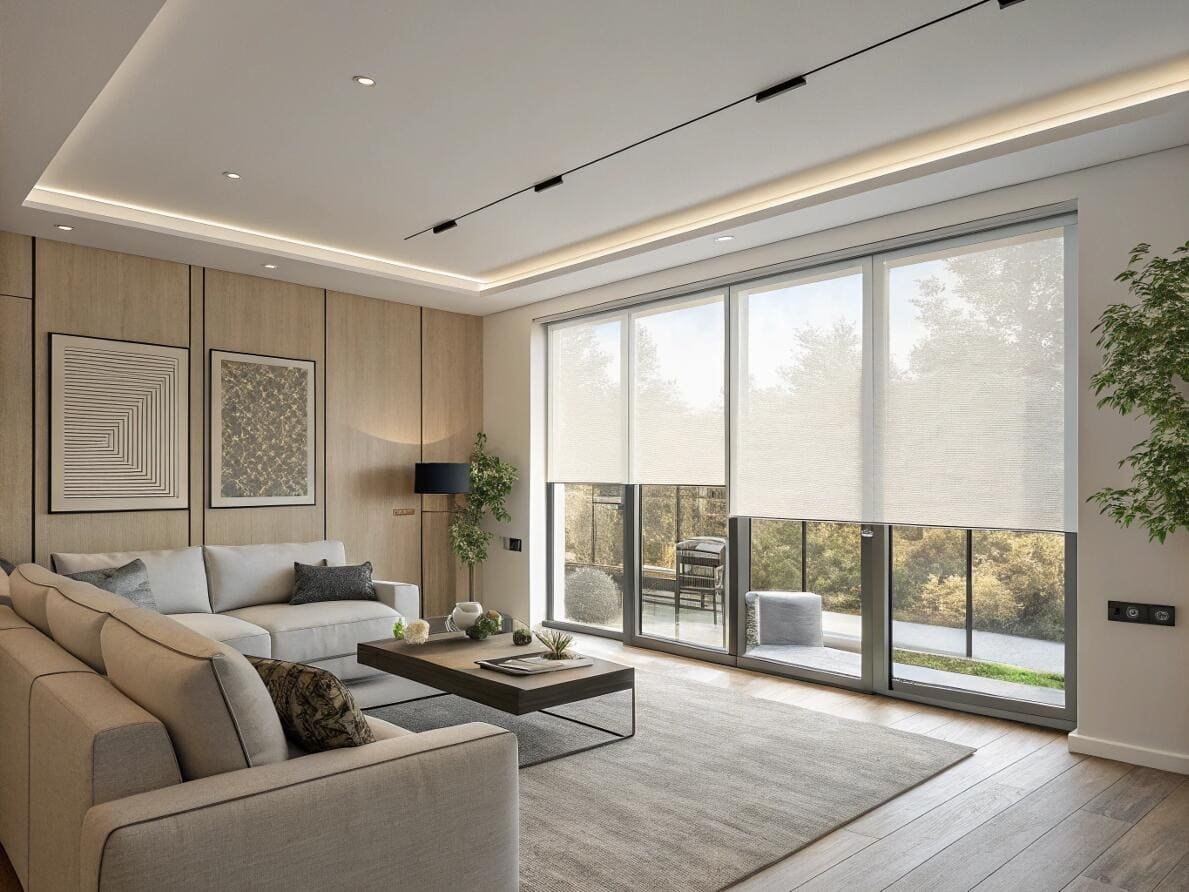
The conversation around smart blinds[^3] has completely changed. A few years ago, just having a motor was impressive. Now, my project partners tell me their clients expect seamless integration. Homeowners want their blinds to be part of a larger ecosystem, working with their lights, thermostat, and voice assistants. They want blinds that open automatically to wake them up with natural light and close on their own for privacy at night. This shift means that understanding the "how" of automation is no longer optional. It's a core requirement for delivering a project that feels truly modern and meets client expectations. The good news is, it's much simpler than it seems once you understand the basic levels of control.
Is there a simple way to automate blinds?
You've heard about blinds that react to sunlight and voice commands, but it sounds complicated to program. You worry about specifying a system your client won't be able to use.
Yes, automating blinds is surprisingly simple. Most systems start with a basic mobile app where you can set daily open and close times. For more advanced control, they can connect to smart home platforms[^4] that manage everything automatically.
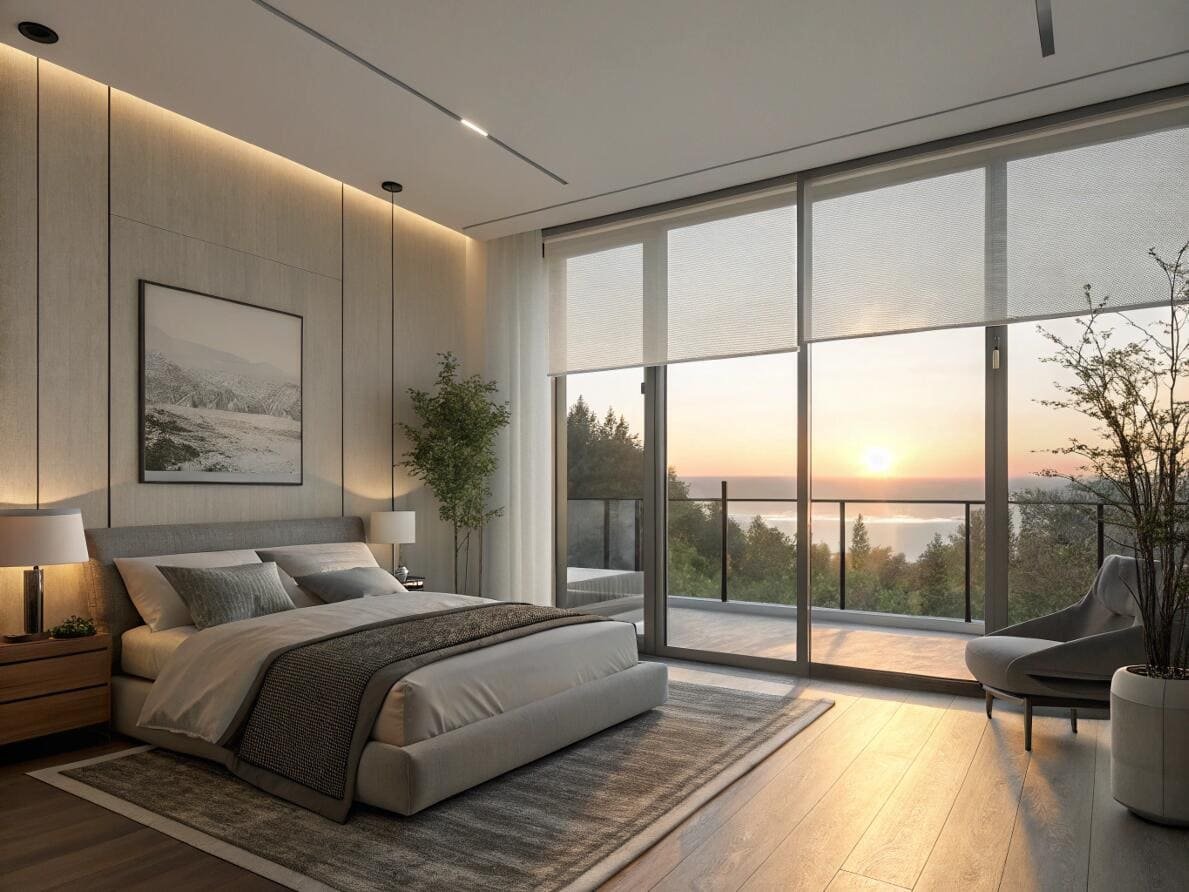
When I walk my partners through the options, I like to break automation down into different levels. Not every project needs the most complex solution, and understanding these layers helps you match the right technology to the client's needs.
- Level 1: Simple Time Schedules. This is the most basic and popular form of automation. Using the blind's app, you can set a schedule like "Open at 7 AM" and "Close at 8 PM." It's incredibly easy to set up and provides a huge boost in convenience.
- Level 2: Sensor-Based Automation. This is the next step up. By adding a simple sun sensor, the blinds can react to the environment. For example, they can automatically close on a west-facing window when the afternoon sun gets too intense, helping to keep the room cool and protecting furniture from UV damage.
- Level 3: Scene Integration. This is where the blinds become part of a true smart home. You can create "scenes" in apps like Alexa or Google Home. A "Movie Time" scene could close the blinds, dim the lights, and turn on the TV with a single voice command. This level of control is what truly impresses clients.
How do you connect and sync smart blinds to a home system?
You have a client who wants their new blinds to work with their existing Home Assistant or Google Home setup. You're worried about compatibility issues and a difficult syncing process.
You sync smart blinds first by pairing them with their native remote or app. Then, you link that app to your smart home system like Alexa or Google Home. For open-source platforms like Home Assistant, you often connect directly using protocols like Zigbee or Z-Wave[^5].
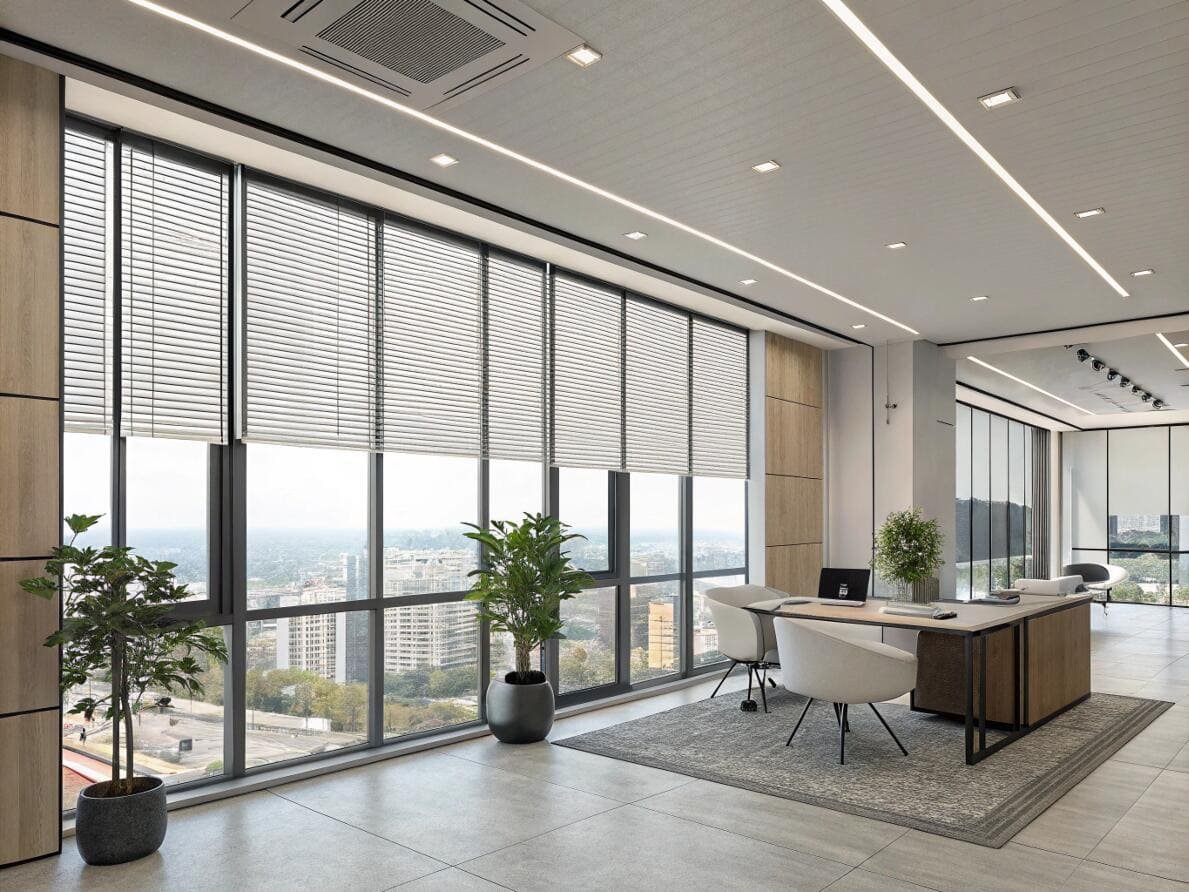
Ensuring all the tech talks to each other is the most critical part of a smart home project. A frustrated client with incompatible devices is a project manager's worst nightmare. The key is choosing a blind system built on a common communication protocol. Most modern smart blinds use Zigbee, Z-Wave, or Wi-Fi. This is important because it prevents you from being locked into a single brand's expensive, closed ecosystem.
Here’s the typical process I explain to installers:
- Initial Pairing: First, you always "wake up" the blind and pair it with its most basic controller, usually a handheld remote. This confirms the motor is working.
- App Connection: Next, you use the brand's smartphone app to find and add the blind to your virtual home. This is what unlocks scheduling and group controls.
- Smart Hub Integration: This is the final step for full automation.
- For Alexa/Google Home, you enable the blind manufacturer's "skill" in the Alexa or Google Home app and sign in. Your blinds then appear as devices you can control with your voice or add to routines.
- For Home Assistant, it's more direct. If the blinds use Zigbee or Z-Wave, you can pair them directly with your Home Assistant hub, giving you incredible power to create custom automations without relying on the manufacturer's cloud services.
How do you set the upper and lower limits on motorized blinds?
The blind is installed, but it stops a few inches too high or travels too far down and bunches up on the windowsill. This looks unprofessional and can damage the motor over time.
You set limits on motorized blinds by putting the motor into programming mode, usually by pressing a button on the motor head or remote. You then use the remote to move the shade to the desired top and bottom positions, saving each one as the new limit.
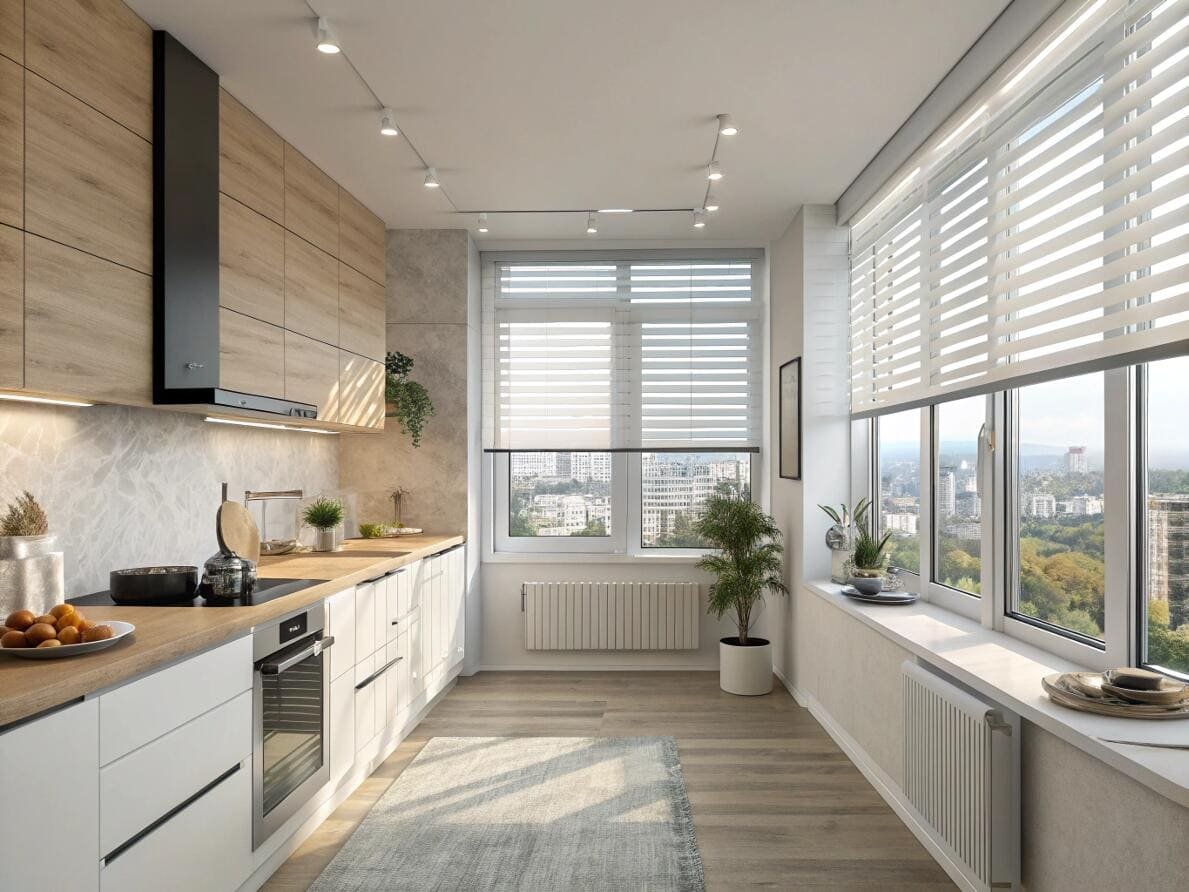
Setting the travel limits is one of the most important installation steps. It’s what ensures a clean, uniform look across a bank of windows and prevents the motor from straining. While the exact button presses vary between brands like PowerView, Alpha, or others, the fundamental process is almost always the same. I always provide my distributors with quick-start guides for this, because getting it right is crucial.
Here is the general, step-by-step process:
- Enter Programming Mode. This usually involves pressing and holding a small button on the motor head itself for a few seconds. The blind will often "jog" (a short up-and-down movement) to confirm it's ready.
- Set the Upper Limit. Use the "up" button on your remote to move the shade to the exact highest point you want it to stop. It should be high enough to clear the view but not so high that the roll is visible. Once it's in position, you press a combination of buttons on the remote to save this position. The blind will jog again to confirm.
- Set the Lower Limit. Now, use the "down" button to lower the shade to its perfect bottom position, usually the top of the windowsill. Press the same button combination to save this lower limit.
- Exit Programming Mode. Once both limits are saved, the blind will automatically exit programming mode. Now, when you press up or down, it will travel perfectly between the two points you just set.
What are the real disadvantages of motorized blinds?
Motorized blinds are impressive, but you are rightly concerned about the potential downsides. You've heard about high costs, technical complexity, and what happens when the technology fails.
The main disadvantages are the higher initial cost, the added complexity of setup and integration, and the potential to be locked into a single brand's proprietary system, which can limit future compatibility and increase repair costs.
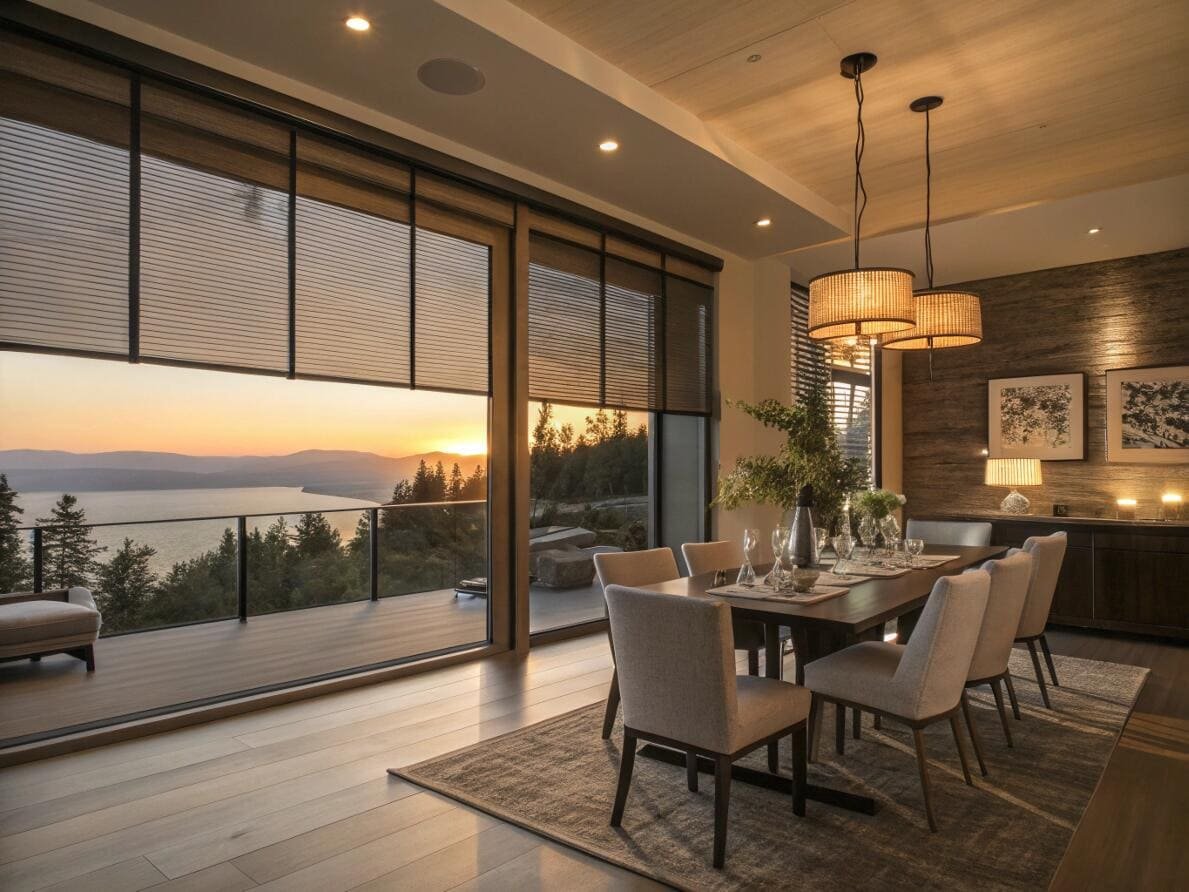
I believe in being completely transparent about the challenges. Addressing them head-on helps my partners make better decisions for their projects. The cost is the most obvious one; motorization is a significant investment. However, I encourage them to frame it as a long-term value add, factoring in convenience and energy savings.
The second disadvantage is complexity. Yes, there is a learning curve. But a well-designed system should only be complex during the initial setup. For the homeowner, daily use should be effortless. The biggest hidden disadvantage, in my experience, is getting trapped in a "walled garden" or a proprietary ecosystem. Some large brands design their systems to only work with their own hubs and remotes. This feels fine at first, but it becomes a major problem when the client wants to add a new device from a different brand or use an open platform like Home Assistant. It limits their freedom and can make future upgrades or repairs more expensive. This is why I've focused VelaBlinds on using open protocols like Zigbee, to give our partners and their clients the most flexibility for the future.
Conclusion
Automating smart blinds is now a standard request. By using apps and smart hubs, you can set simple schedules or create advanced home automation scenes[^6] to add huge value for your clients.
---

[^1]: Discover the role of smart home hubs in creating a connected living environment.
[^2]: Find out how to set schedules for your smart blinds to enhance daily convenience.
[^3]: Explore how smart blinds enhance convenience and energy efficiency in modern homes.
[^4]: Discover the top smart home platforms that can enhance your automation experience.
[^5]: Learn about these protocols and their importance in smart home device compatibility.
[^6]: Explore how home automation scenes can enhance your living experience.
Partner with VelaBlinds for Your Next Project
Smart window treatments shouldn't be complicated. After working with 500+ distributors and contractors worldwide, I've streamlined the process to get you quality products, competitive pricing, and reliable support - every time.
Why project professionals choose VelaBlinds:
- ✅ Fast, Accurate Quotes - Detailed specs and pricing within 24 hours
- ✅ Transparent Pricing - No hidden fees, volume discounts clearly outlined
- ✅ Quality Assurance - Direct partnerships with certified OEM manufacturers
- ✅ Project Support - Dedicated account manager from quote to delivery
Start your next project:
📧 Quick Quote: Send your requirements to info@velablinds.com
📱 Direct Contact: WhatsApp +86 137 2012 8317
🌐 Browse Solutions: https://velablinds.com/
📁 Product Resources: Access spec sheets, catalogs & project files
Paul Chen, Founder
"I built VelaBlinds to solve the real challenges I faced as a project buyer - long lead times, unclear specs, and unreliable suppliers. Let's discuss how we can power your projects with smarter blinds."
Serving distributors and contractors across North America, Europe, and Australia since 2018.

